TUTORIAL >>> Sketchbook Pro Demo - Jet Ski

OK, I have had a few email requests to post a breakdown demo for a Sketchbook Pro concept. This is a Stand up Jet ski I did last month. Following is a set of images that show my steps and layer breakdown.

I am using a Gateway tablet PC and all work is completed native in Sketchbook Pro.

Step 01 - Underlay for main body of the Ski.

Step 02 - Underlay for the Pole of the Ski.

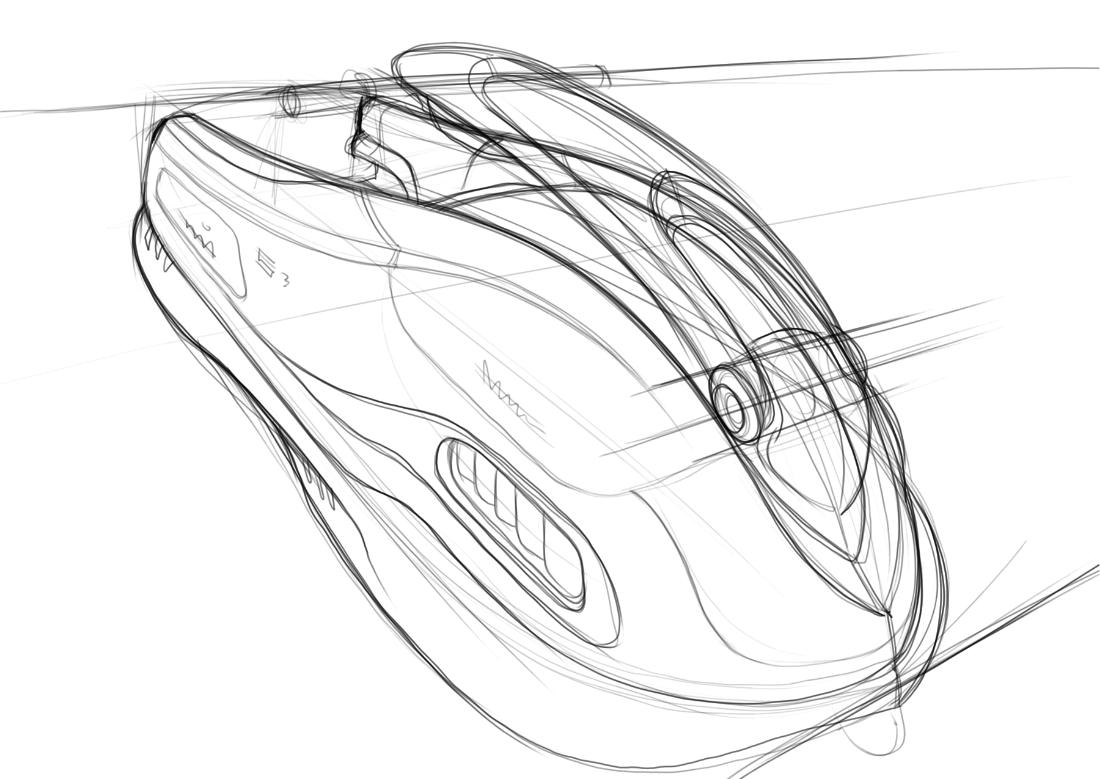
Step 03 - Cleaned up Line-work with a custom pen tool.

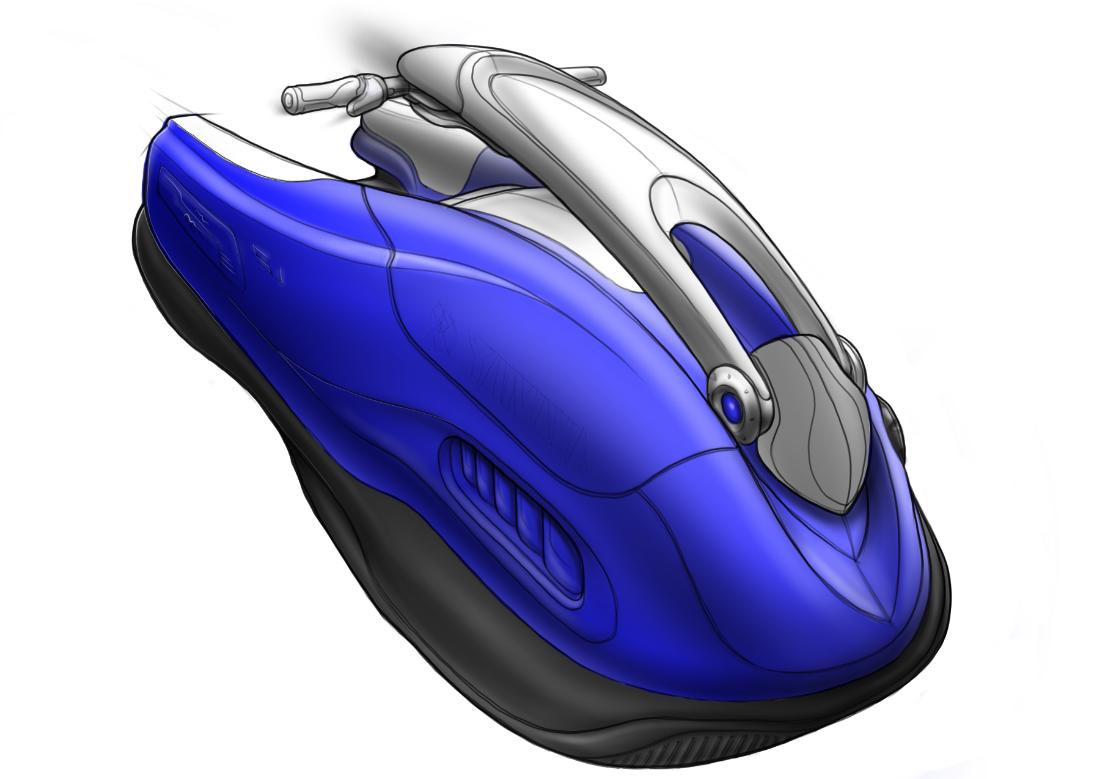
Step 04 - Color Fill 1 with paintbrush and airbrush tool.

Step 05 -Color Fill 2.

Step 06 - Main Body volume with airbrush tool.

Step 07 - Pole volume with airbrush tool.

Step 08 - Pivot volume with airbrush tool.

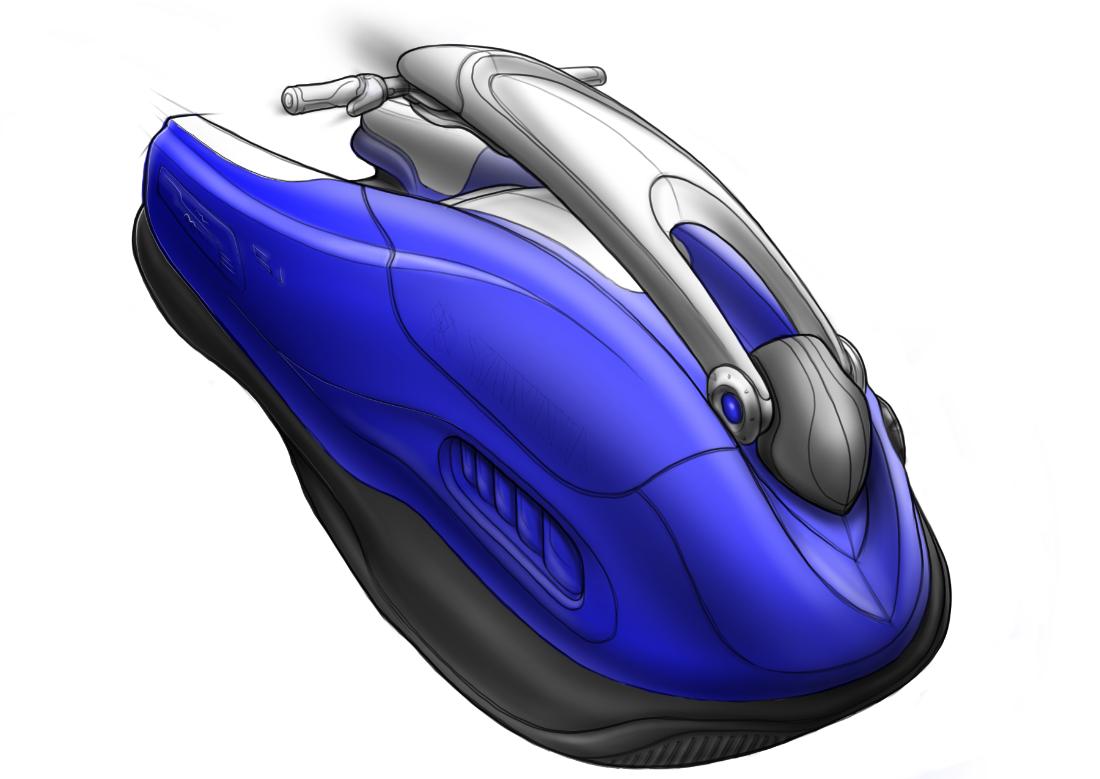
Step 09 - Pole Shadow with airbrush tool.

Step 10 - White highlights with white pencil tool.

Step 11 - A little gloss reflection with airbrush tool.

Step 12 - A little white airbrush on the letters for tone.

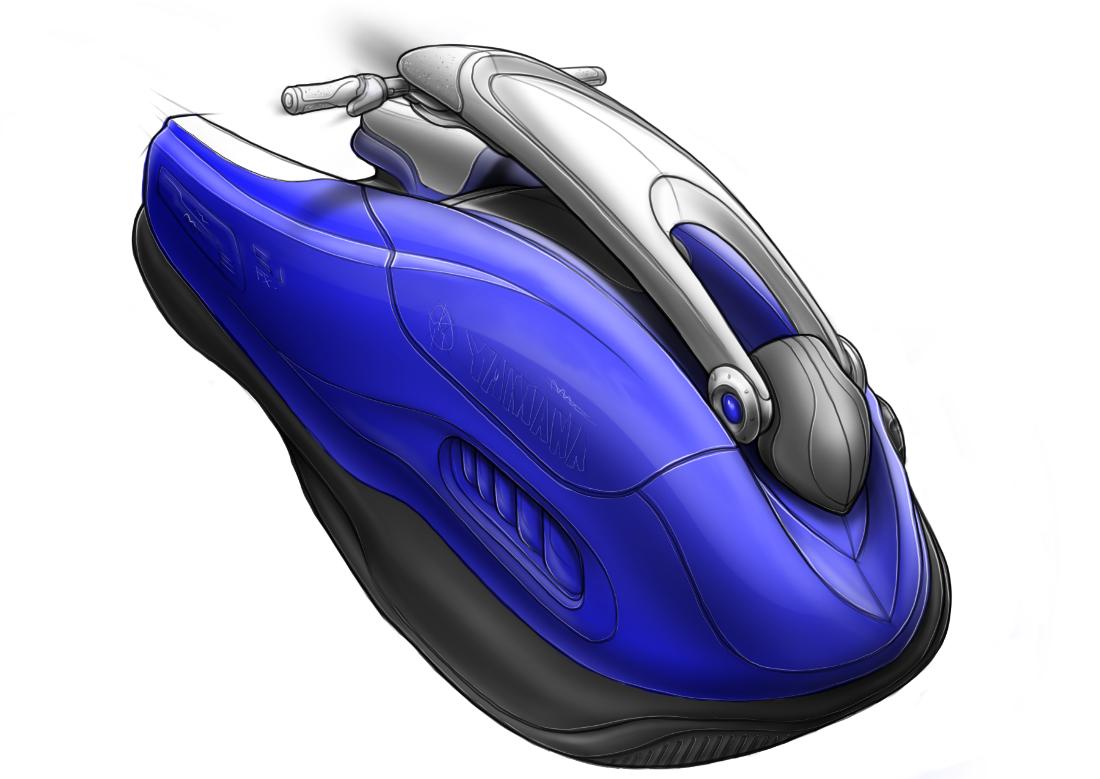
Step 13 - Water with airbrush, paintbrush and smudge tool.

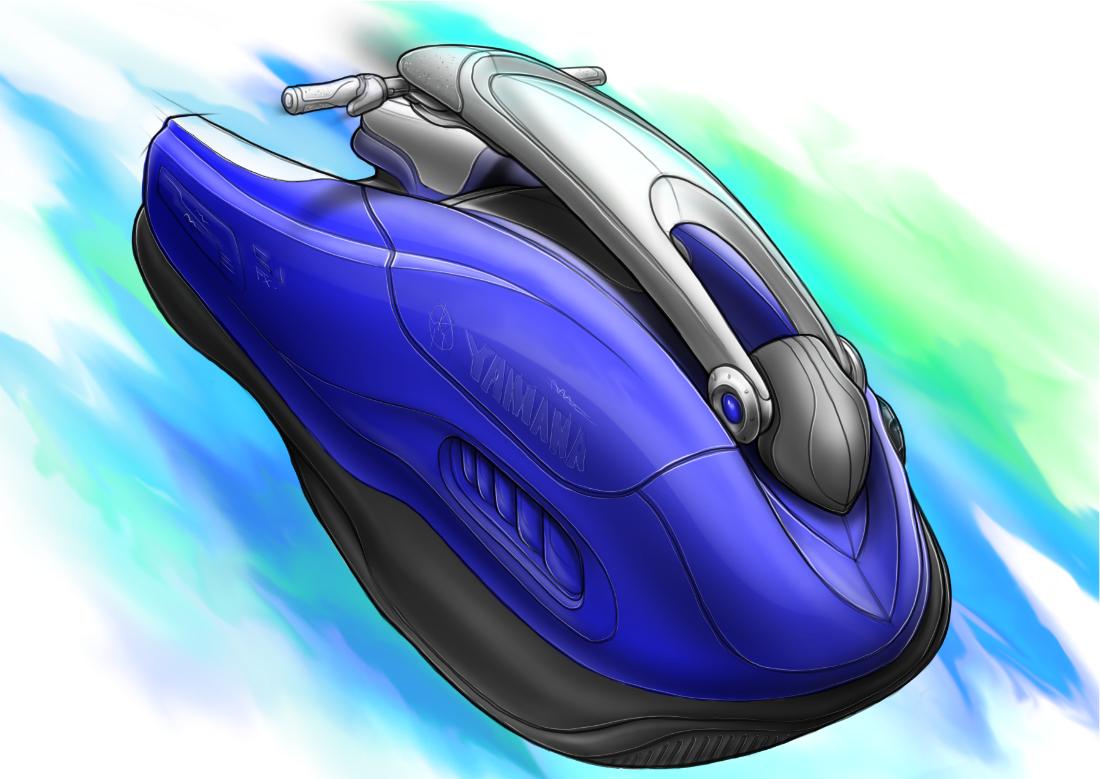
Step 14 - Main shadow with airbrush tool.

Step 15 - Notes for a little detail.

This image took me around two hours to complete. I am having a ton of fun with Sketchbook Pro. All the tools you want, and no mess.

Jeff Smith IDSA
Coroflot link below.

Great stuff - thanks for the tutorial!

Awesome stuff Jeff, thanks for taking the time to do this.

Nice stuff Jeff. Thanks for posting it!
Michael

Yo,
Thanks for the comment and thanks for making this thread stick.
I will try to get another one up in the next month or so.
Jeff

no problem. I gave it a “Yo! C77 Board Alert”

Yo! Thanks for the link on the main page!
Jeff

Cool drawing, although I have one question:
step 3: clean-up linework with a custom pen tool

What excactly do you do to get it so neat and tidy? Do you make a new layer and trace over? do you use eraser to filter away some lines? some sort of tracing tool perhaps?

I’m working in Photoshop with my tablet, but I’m guessing the procedure is much the same.

The_R,

Good question. Step 1 is it’s own layer. I completed it first. Step 2 is also one layer. It was easier to keep control of the pole design. Step 3 is a new layer and hand drawn. Since this is Sketchbook Pro on a tablet, the tools react very nicely. I have a custom pen set up to function like a pilot razor point/ball point hybrid. Not much eraser work on that layer, just a clean trace of my underlay by hand. Sketchbook Pro is digital paper with Layers only.

I also like to sometimes not do an underlay with Sketchbook Pro. I will try to post another demo that does not include an underlay, just a single line-work layer.

Jeff

Thanks for the demo Jeff, It Helped me sell the idea of my company investing in a few tablets and Sketchbook Pro… Hope all is well at Reflex and AI… Keep in touch man…

Right on Jonathan! Have fun!

Cool drawing :wink: Buy cheap Generic Accutane Online Buy cheap Generic Clomid Online

Thanks man!

ant custom pan tool tips??

i cant seem to get that to work properly?
how do you get those crisp lines?

I do not use that many custom pens. I think I have one ball point that I adjusted a little. The crisp lines are all about practice…the more you do them, the more skill you get.

Sketch over your own work, do underlays. It helps!

Great stuff as always, thanks for posting

Thanks for taking the time to help, I really apprciate it.

No worries! It is fun to post this step by step work.