Here’s some process pics of a toy I’m making. You can view more pics at http://www.j6x2.com/?cat=8. I’m in the process of making a mold and casting it in resin.
in response to the pouring dilemma; with rotomolding does one pour casting resin into open mold and then when it is closed and rotated it adheres to all sides uniformly.
Well it seems that the mold isn’t ridgid, so I don’t think it’s pressure assisted or rotomolding. Also, he said it’s casted with resin, so I am also expecting a longer curing time than thermoplastics.
from the photos it looks like the mold is silicone and he may have cast it with polyurethane resin.
There is alot of variation in the demold times on these products; anywhere from a couple of minutes to hours+.
Any silicone or polyurethane above shore 40+ would be pretty firm at the thickness his mold is cast in.
I have to admit i have not Rotomolded, although i have done one and two part molding/casting and I understand the principal of rotationally molding.
Here is the pour spout. It wasn’t cut out in the above photos. When it is rotocasting, I put the plug in. There is a small hole drilled in the plug so that some of the heat can vent.
Apparently the resin gets hot and expands. The hot air would bulge the mold if it couldn’t escape. The heat and a little resin goes out the hole.
You have to put a little zip lock bag around the plug when you rotocast it so it will catch the resin. If not, the resin will fly around the room. The resin is Smooth-Cast 320. About 10 minute demold time.
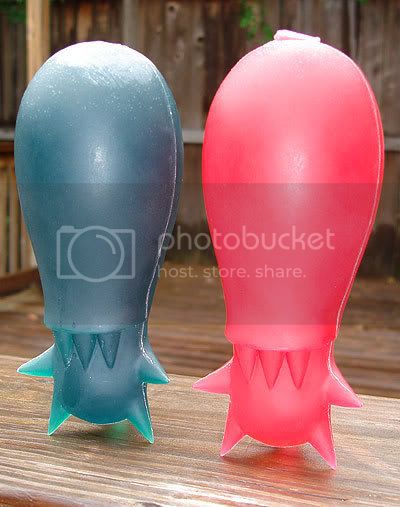
Here are the 2 colored ones using the tinted amber resin. (Smooth-Cast 325) These weren’t rotocast. They were poured normally.
The second pic is back lit from outside and really shows the color off. These have not been cleaned up yet. There’s a small line where the molds comes together but it can be sanded off pretty easy.
You can control where the line is when you add the clay for the initial molds.
Thanks for posting all of this stuff, Jester. It’s really cool to see the process - I love the tinted resin shots. It’s a really cool character design to experiment with…